How To Setup Cloudflare Email Routing – (Free Email Forwarding)
Cloudflare offers an inbuilt free email forwarding service. Learn how to quickly set up Cloudflare Email Routing.
Cloudflare is a must-use suite of tools for all website owners.
Email Routing from Cloudflare is an easy way to create unlimited email addresses and redirect them to the mailboxes you or your team already use.
In this article, I will guide you step by step on how you can configure your email forwarding using Cloudflare.
If you, for any reason, do not want to use Cloudflare DNS, you can still forward your emails with several other alternatives. Here are some of the Best Free Email Forwarding.
Get Started with Cloudflare Email Routing
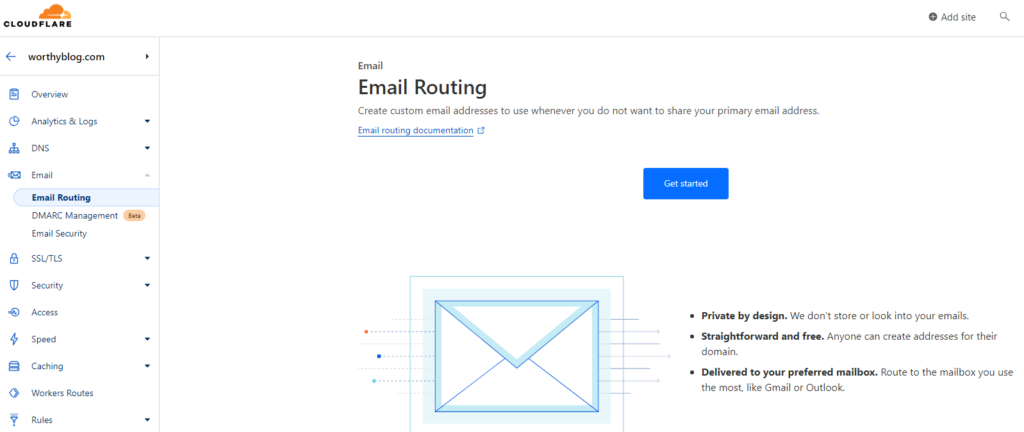
Log in to the Cloudflare dashboard and choose the domain you want to set email forwarding for.
Find the Email Routing option under the Email menu, and click the Get Started button.

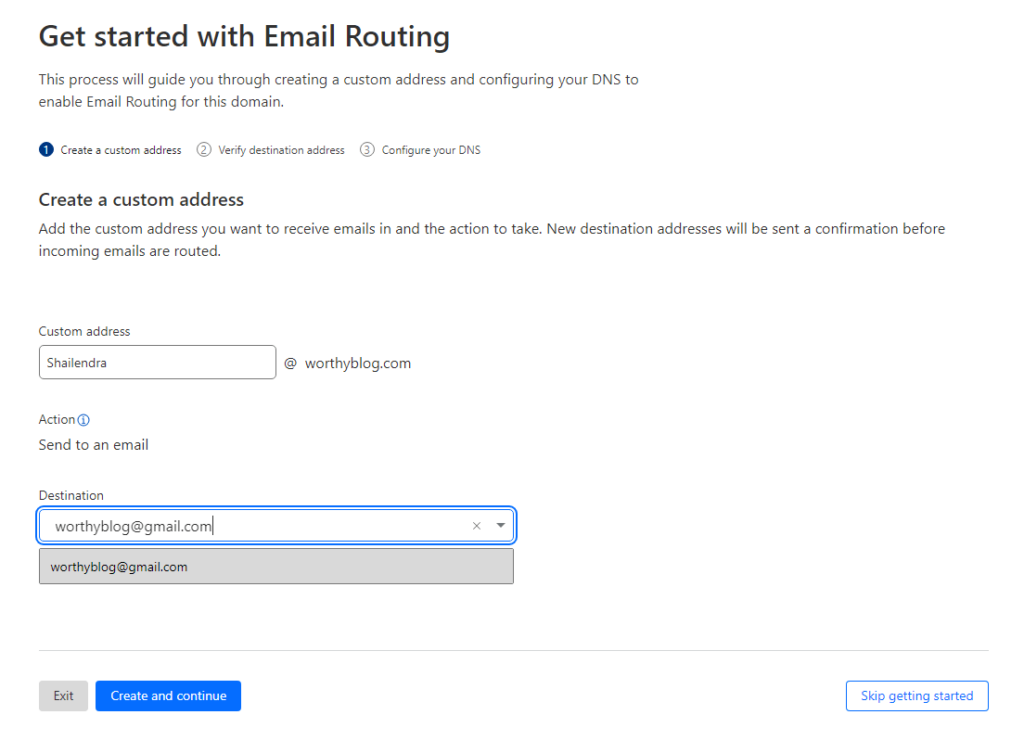
On the next screen, you will create a custom address for your domain and choose the destination email address. You can add more aliases and destination addresses later.

Click on the Create and Continue button.
You will receive a verification email on the destination email address. Follow the link in the email to complete verification. You must verify each destination email only once for all domains in your Cloudflare account.

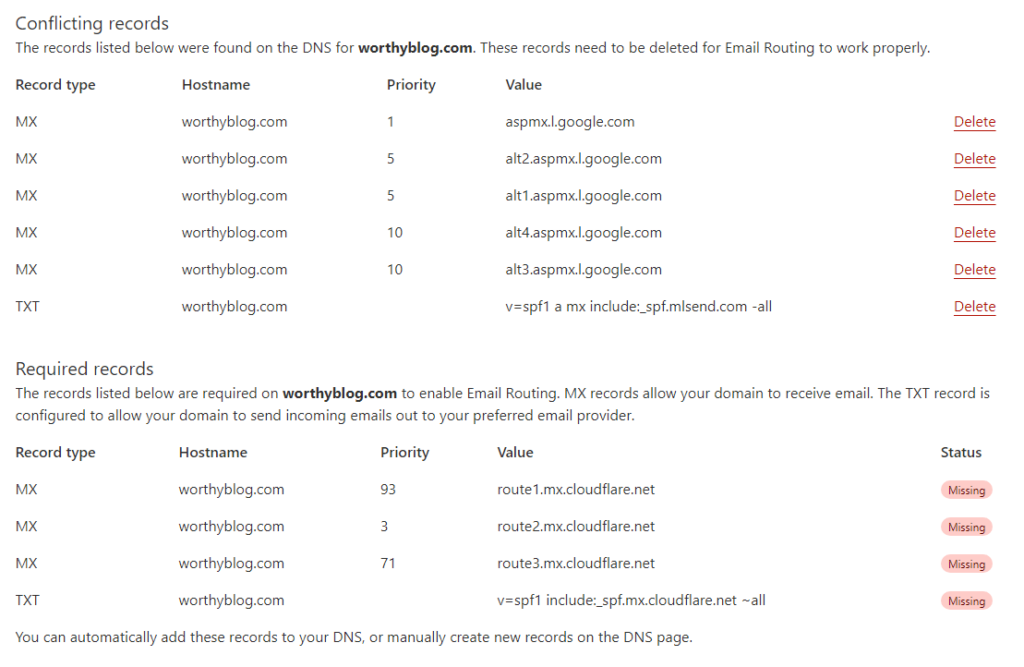
On the next screen, you will see all the existing DNS records that conflict with Cloudflare email forwarding and all the required records.
The good thing is that you can just accept the suggested changes in a single click by pressing the Add records and enable button.
This wizard will delete the existing conflicting MX records and SPF, DMARC, DKIM records (if any) and replace them with the required settings.
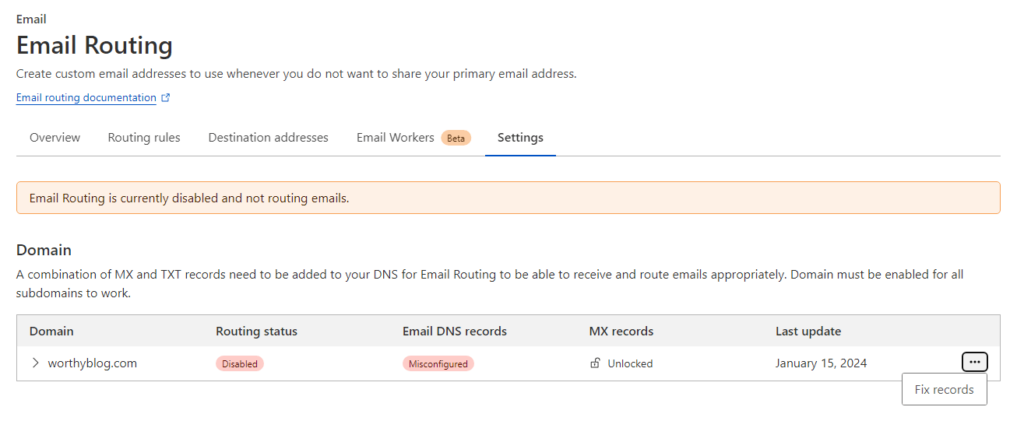
If something goes wrong you can always come back to check the status of email routing and fix the issues.

Once setup and working, you can set more routing rules and destination addresses via menu options that now appear.